


Decoupage on bottle-DIY Amazing bottle art

Have you ever think you can turn any object or old furniture in to new one. From the time I started learning about decoupage I have just bring new life to things which I was about to throw.
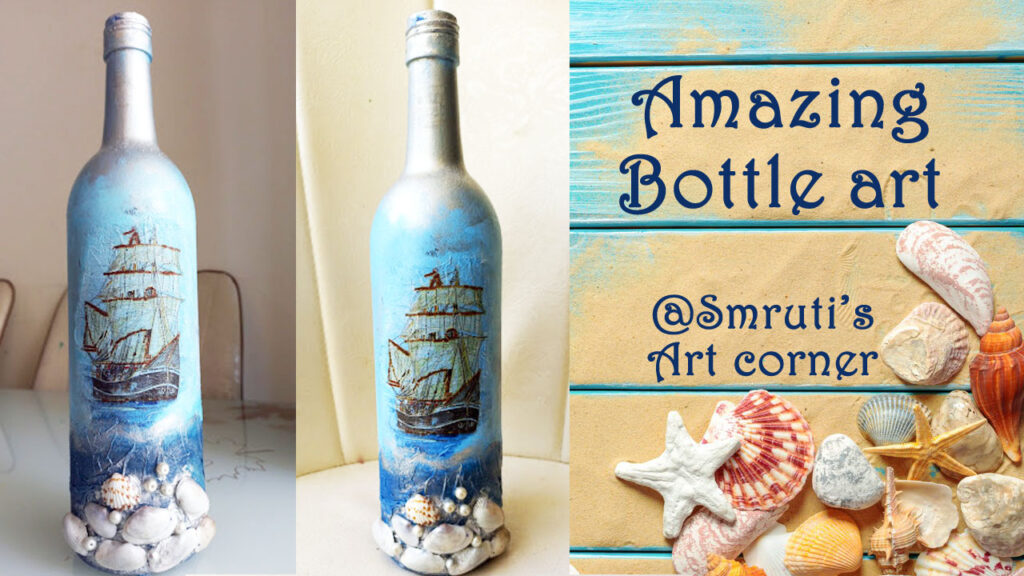
Hello and welcome back to Smruti’s Art corner. Here I am sharing amazing decoupage bottle tutorial with you all. I have decorated this bottle with printed paper, sea shell and pearls. There are unlimited ways you can decorate glass bottle, but decoupage gives different and printed look to the bottles.
What is decoupage?
Decoupage is the art of decorating any object by pasting colored paper cutouts on it in using special paint effects. Commonly, an object like a carton boxes, bottles, chair, mdf board or any furniture is covered by cutouts from magazines or from printed papers. Each layer is sealed with varnishes or mod podge glue with multiple coats until the fixed up on appearance disappears and the result looks like painting or printed work.
You can easily learn to make beautiful things to decorate your home or you can learn how to make gifts by your own for your loved ones. Or possibly you could even start your own craft business. If you can print a picture from a computer or you can take any picture from magazine, cut with a scissors, and use glue, you can renovate the things into unbelievable one. I will explain step-by-step how you can do decoupage on glass bottle. If you have any problems with this tutorial, please don’t hesitate to send me a message with your questions, I would love to help you out.
Before we start decoupage on the bottles, let me clear some doubts with some FAQ’s.
Can any paper be used for decoupage?
You can use any kind of paper you want. You can use Magazine Paper, Newspaper, Wrapping paper, Wallpaper, Paper Napkins, playing cards, crafting paper and even fabric. As long, as the Decoupage glue, that you are using, can glue it to the surface of your project, then you can use it for Decoupage.
How many layers of decoupage are there?
Anything from 10 to 15 coats may be needed depending on how thick the decoupage paper is and how smooth and long-lasting a finish is required.
Is decoupage waterproof?
Yes, but when you seal your decoupage work with varnish. Apply 10 to 15 coats required for your work. Varnish really makes it waterproof.
Which paint is used for bottle painting?
Acrylic colors are best choice for bottle painting. You can use chalk paint or spray paint also.
How do you start a bottle painting?
Step 1: Remove the labels. Before you start painting the bottles, you need to remove labels on bottles. The best way to remove label is to immerse them in lukewarm water for an hour and they will come out easily.
Step 2: selection of paint. Choose any color for painting. Acrylic colors are best choice to paint the bottle. Acrylic color doesn’t take much time to dry. If you are planning to do decoupage on bottles then you should go with chalk paint. You can use spray paint also.
Step 3: Let the bottle completely dry after coloring. Start making design. U can make designs using thin paint brush, 3d outliner, masking tape, spray paint, mouldit clay or decorative materials.
Let’s see what material is required to Decoupage on bottle-DIY Amazing bottle art:
- Bottle
- Decoupage paper
- Mod podge glue
- Acrylic colors
- Sea shell
Step 1:

It’s very important to clean the bottle before you start painting it. Let’s see how to clean the bottle.
1: Start by soaking the bottles in lukewarm water.
2: After a good soaking the bottle labels should be ready to peel off. Remove the label.
3: Time to start coloring!
I had one printed paper of sailboat on the ocean. I thought I could use it to make something creative, then I planned to use it on glass bottle to give it ocean effect using sea shell and pearls. I grabbed all the supplies require such as- Mod podge glue, flat brush, tissue paper and sponge.
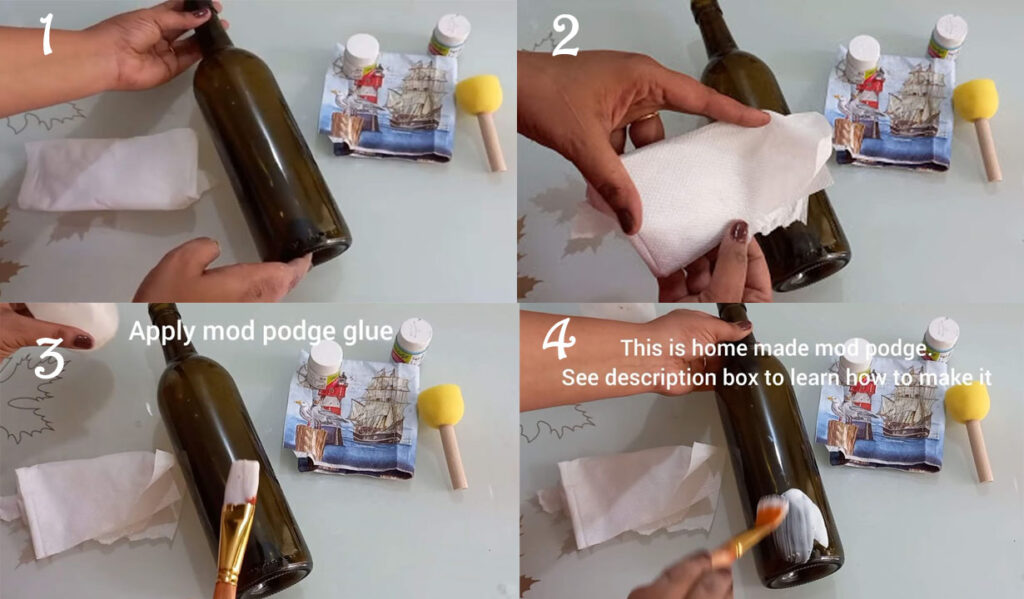
How can bottle create the result of ocean effect until I present effect of waves on it? I stared making wave’s effect on the bottom of the bottle. To make wave effect I have used tissue paper.
Now apply mod podge glue on the bottle where you want to paste the tissue paper. I have used homemade mod podge glue. To make homemade Mod Podge you need 1 cup of glue and 1/3 cup of water. Mix both ingredients properly. You can store it in a container.
Step 2:

Immediately after apply glue, paste tissue paper on bottle and give texture with you figure. Remove extra part and let it dry. Once it dries completely start painting bottle with blue color. Now the reason why I am using blue color to paint the bottle is the color of the ocean and the sky is blue. So it will be easy to merge the border of printed paper with bottles background. And for sure it will not look like simply I pasted a paper on bottle.
Step 3:
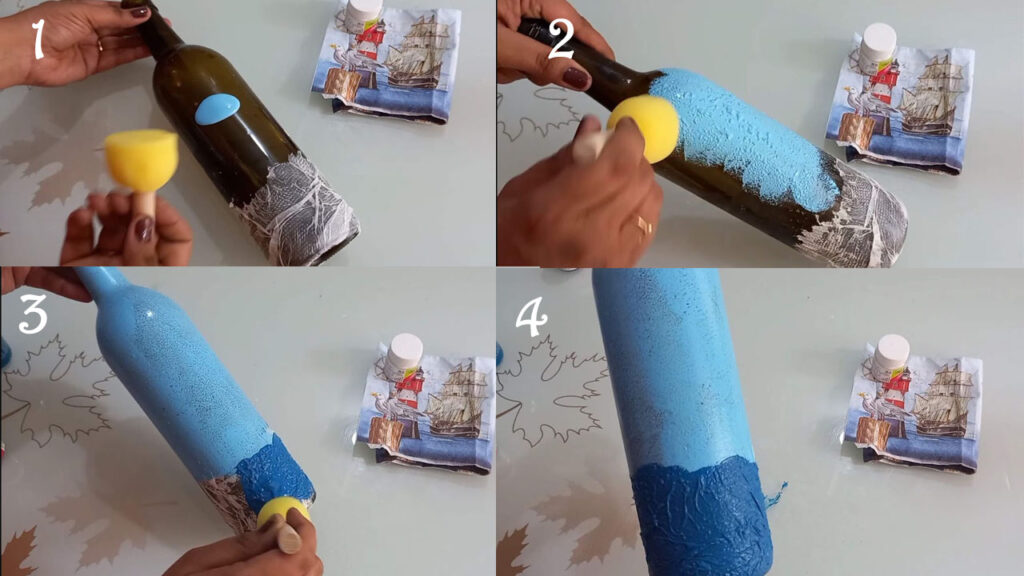
At the bottom of the bottle I have applied dark blue color and rest part finished with light blue. Use sponge to color the bottle. It gives texture effect. Apply color on bottle and dab the sponge to color the bottle. Let it dry after coloring.
Step 4:

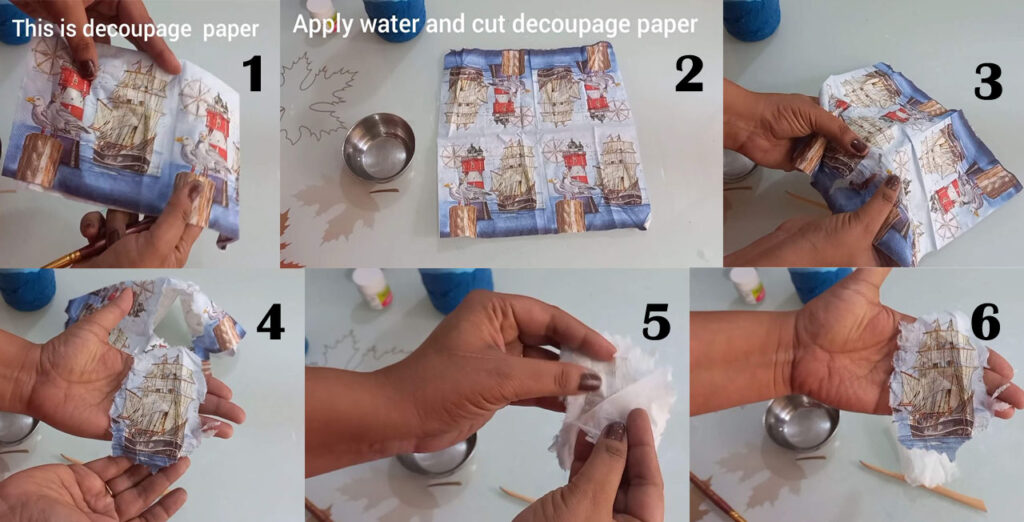
Take decoupage paper and tear the portion you want to paste. To tear the decoupage paper, apply water on it using brush and slowly tear it. Now remove top layer of decoupage paper which we are going to paste.
Step 5:


Apply a thin layer of Mod Podge using a foam or flat brush where you want to paste decoupage paper. Gently lay the paper down on the wet surface.
Place paper on the bottle and carefully press it with your fingers to remove air bubbles. Apply additional coats of Mod Podge on top of the paper to seal, waiting 15-20 minutes between coats. Let it dry completely.
Step 6:
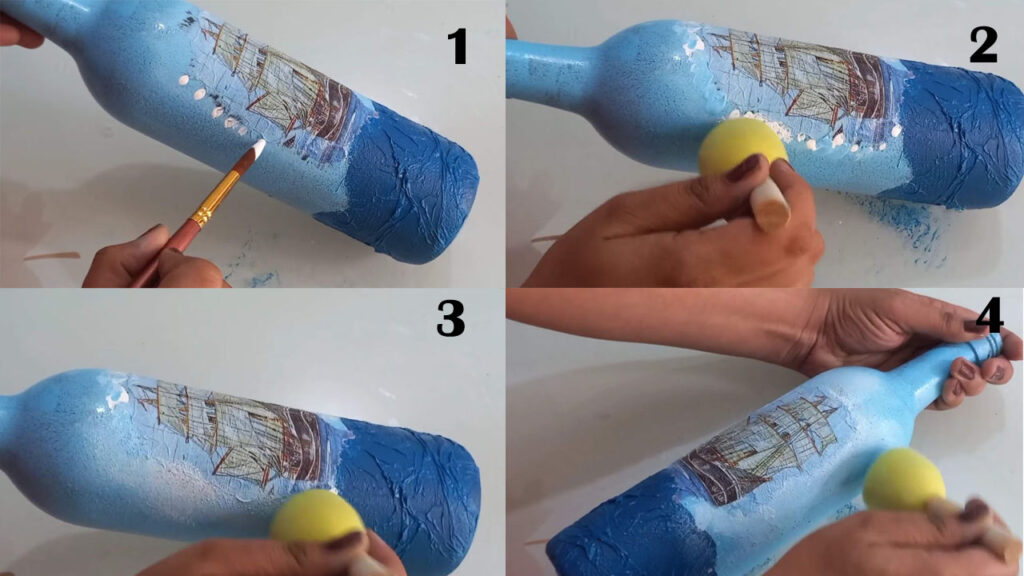
Merging borders of paper with bottle color is very important part. Match the color of paper and bottle and merge the border. I already painted bottle with light blue color because it was matching to the color of printed paper. So again I have applied light blue color on the border of printed paper to merge the border of paper with bottle’s background color.
Step 7:
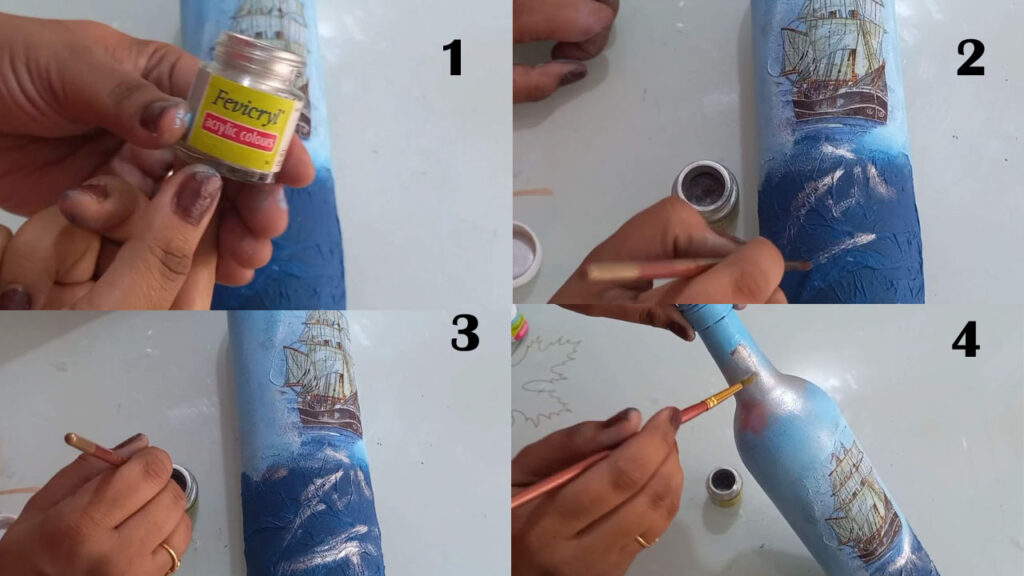
I have used dry silver color to give water effect. Dip your brush in dry silver color and spray it on bottle.
Step 8:
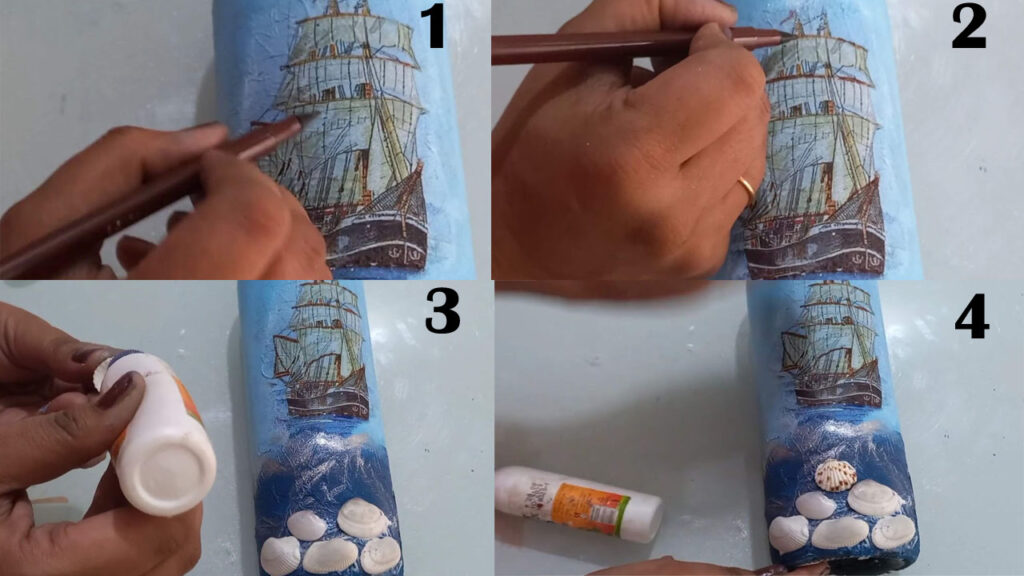
Use sketch pen to highlight the drawing of decoupage paper. The bottle will look incomplete without sea shell and pearls. Stick sea shell and pearls at the bottom of bottle using glue.
Step 9:

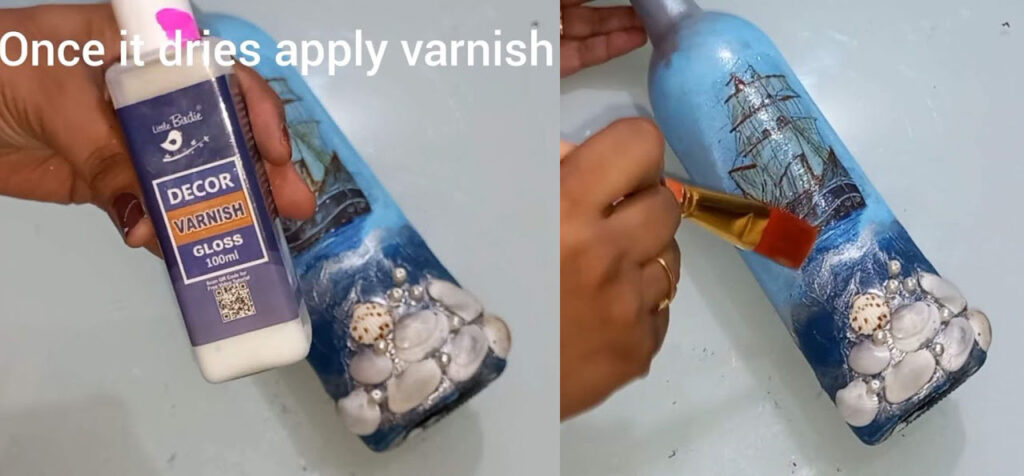
Decoupage on bottle-DIY Amazing bottle art

Let the bottle dry completely. Once it dries, apply varnish to seal the bottle painting. Ensure the glue is dry before starting to varnish and leave the varnish to dry thoroughly between each coat. Anything from four to 15 coats may be needed depending on how thick the decoupage paper is and how smooth and durable a finish is required.
I hope you liked this bottle art. Let me know your reviews.
Thank you!
Watch complete video tutorial here


